Page 3 of 4
Re: 100R rebuild continues
Posted: Wed Nov 05, 2014 9:55 pm
by Ron Rich
In most cases, nothing need be done, except if you want to use coins--
Ron Rich
Re: 100R rebuild continues
Posted: Fri Nov 14, 2014 12:18 am
by catboxer
I've been using the Juke without issue for the past week or so, but I do have one final question for you experts. The reversing switch makes a pretty good arch when tripped, so much so that I'm hesitant to just put the cover on. I've adjusted the gaps on the reversing switch and set the reversing brackets to spec. It seems to do this arch about 25% of the time. Is there a missing/bad arch suppressing capacitor, or is this normal? It's doubtful it could start a fire without some type of propellant or combustible fluid like WD40, but it's somewhat worrisome. I noticed the inside of the mech cover had some existing burn marks, likely from this switch sparking.
Re: 100R rebuild continues
Posted: Fri Nov 14, 2014 2:46 am
by Ron Rich
Do you still have a cap on the motor terminals ? If so, just eliminate it--
Then ---WITH the POWER OFF--first, check for and elminate any "pits"--use a burnishing tool !!--then "flip" the switch with one hand, while watching, and slowing down, the progress of the "flipping action", with your other hand--watch the center blades--be sure ALL are open before any one, of the other side blades, touches any center blade. Once done--do the same, when flipping the rev switch in the other direction--something is not "clearing fast enough", or "touching too soon". Ron Rich
Re: 100R rebuild continues
Posted: Sun Aug 28, 2016 1:10 am
by catboxer
Resurrecting this thread, because believe it or not, I am just now finishing this jukebox restoration.
Basically once I got the jukebox functioning 100% I began a long (VERY SLOW) aesthetic restore. Today I was going to wrap this up and I finally broke out an original Red head cartridge that I bought on Ebay and some new "Needles 4 Jukeboxes" Pickering styli. I adjusted the tone arm tension after installing the cartridge and fired it up and I have a bit scratchy sound and roughly 1/2 the output volume I believe I should have.
I've tested the amplifier while the record was playing (to get around the mute circuit) using my phone as a music source, and the amp and speakers sound much better and louder. I am just not getting decent/clean output from the new stylus. I have a brand new RCA plug installed at the amp and that looks good. I checked the tone arm wires and they seem securely soldered to the mounting block. I did change out the old speakers to the recommended Jenson MOD series. I believe I have them wired correctly, I tested the original speakers polarity and wired the new speakers the same way as they would have been on the originals.
Any ideas? Thanks! Can't wait to post up some pictures when I get this all closed up.
Re: 100R rebuild continues
Posted: Sun Aug 28, 2016 4:11 am
by Ron Rich
From what I have heard, needle pressure adjustment, balance, and counter balance adjustments, are critical when using the new "stereo compatible" stylii. See the service manual for procedure--and be sure the bearings are properly oiled and there is some "free-play" in the adjustment therein. I have only used one new set, so far, with no problems--sounded great ! Ron Rich
Re: 100R rebuild continues
Posted: Sun Aug 28, 2016 9:11 pm
by catboxer
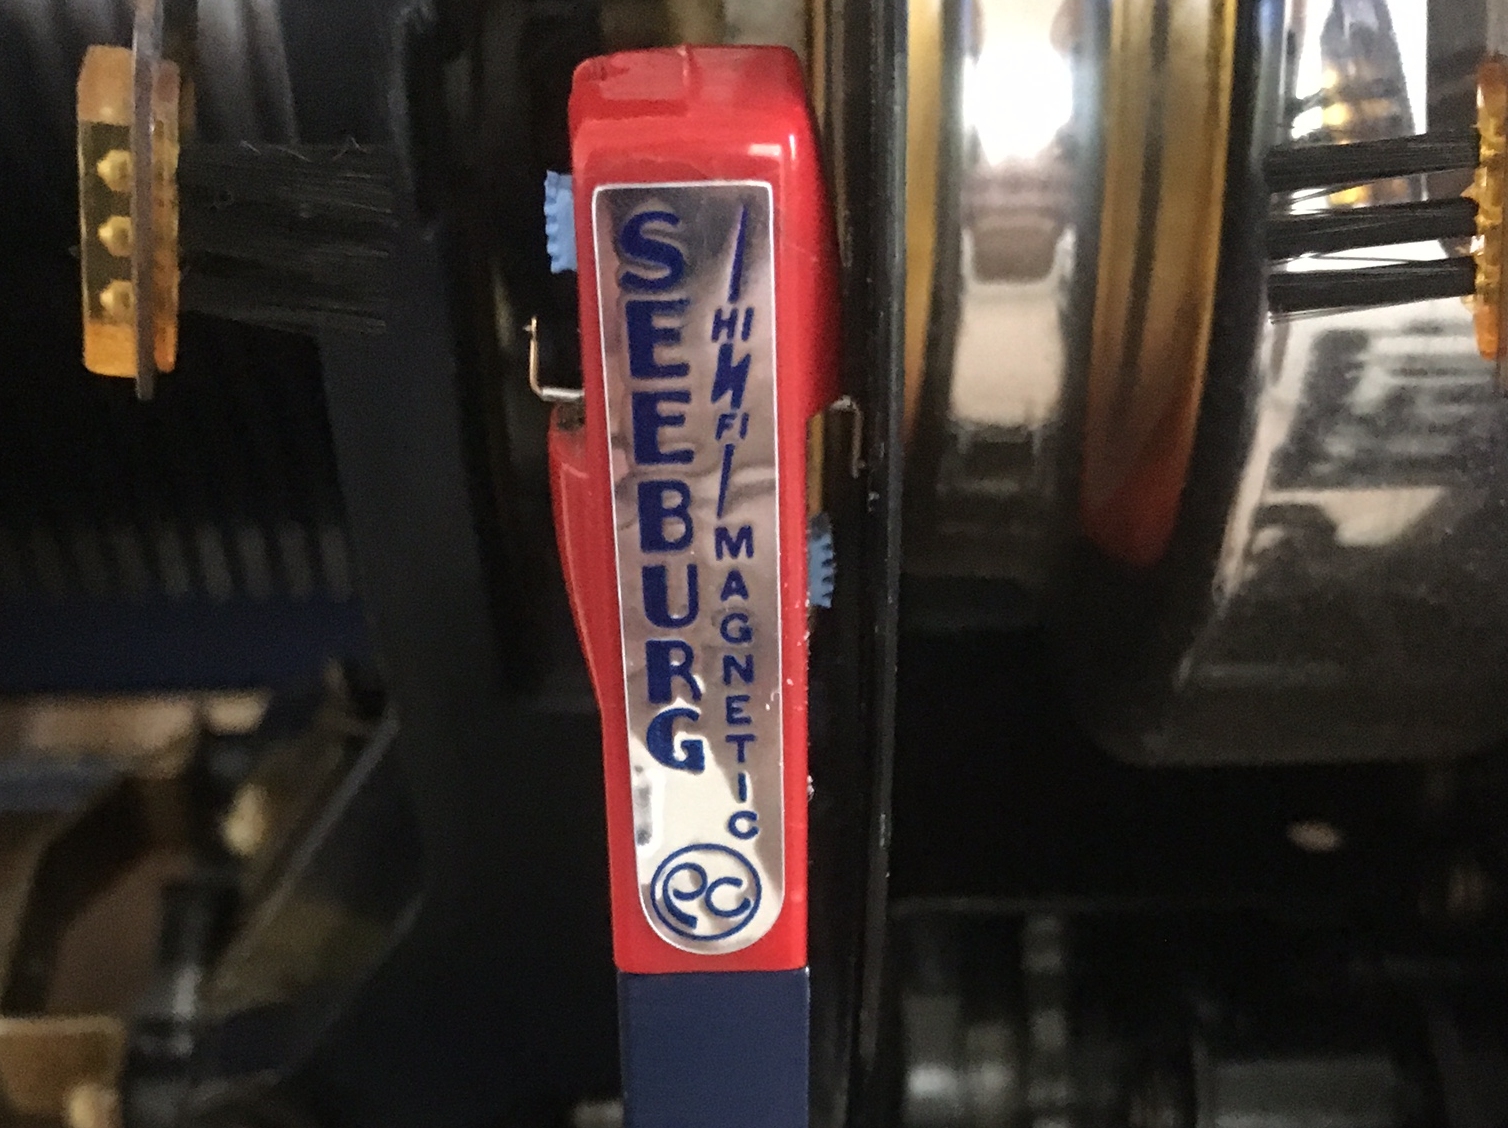
Thanks Ron, I balanced the cart using the wheel under the mech, but I just can't seem to get the right tension on the tone arm. No matter how low pressure I try to get it to track, it chews up the record. You can see the dust! Looking at the stylus, (Image 2) it almost looks like the cantilever is extending beyond the stylus tip. Maybe that is dragging on the record and causing poor contact?
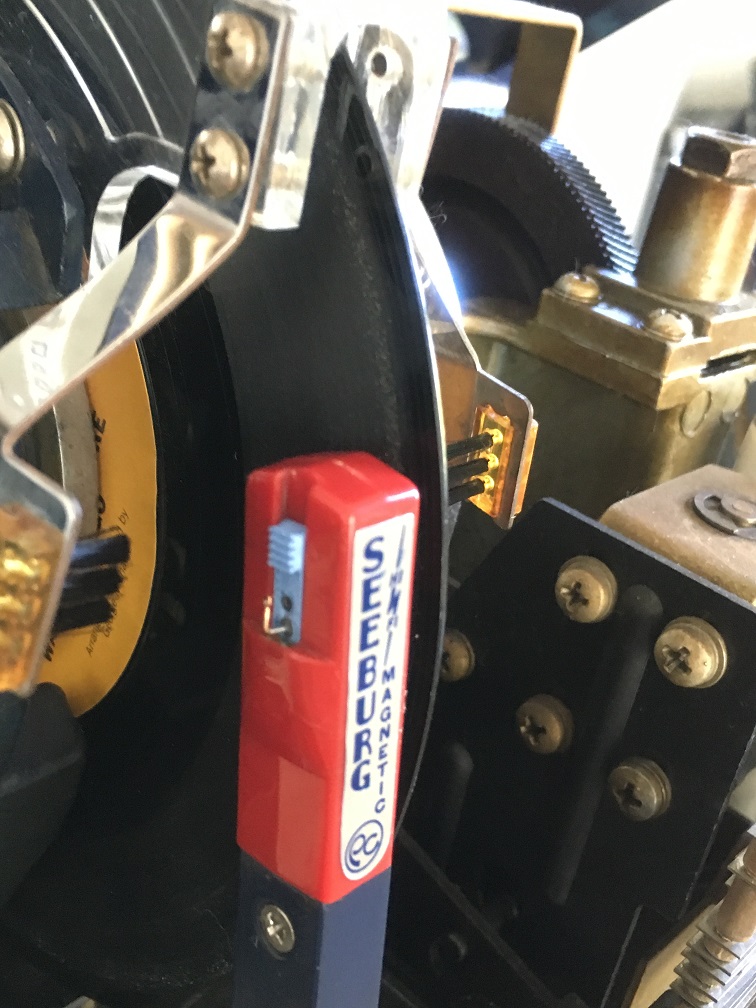
- IMG_8459.JPG (229.62 KiB) Viewed 127 times
Re: 100R rebuild continues
Posted: Sun Aug 28, 2016 9:43 pm
by Ron Rich
Do you have the required gram gauge ? Did you check the balance adjustment as per the manual--?
Is it "chewing up" records at the start, middle, or 3/4 ths of the way through the record ? Ron Rich
Re: 100R rebuild continues
Posted: Sun Aug 28, 2016 11:06 pm
by catboxer
Ron, I used the dial to set the balance so it minimally (very hard to do) fell inward or outward from the center of the record. I think I'm going to have to buy a gauge but get the tension 100%. But good news, I just angled outward the "dog ears" of the tension spring rather than keeping them vertical and that lowered the tension and it's not digging into the record. I also just tried a different newer record and set the auto-volume control to MAX and that improved the output ALOT. I am probably being overly picky here, but turning the main volume above 75% max volume does create more noise than I would like hearing even before the stylus hits the record. It's noticeable in quiet songs at this volume. Bass and Treble response controls seem to work OK.
What about the original paper cap on the smaller speaker in the front grill? Does that need to be changed to get a better/cleaner filter? Otherwise I've already recapped the amp, installed new tubes, new speakers, "new" cartridge, and new stylus.
Re: 100R rebuild continues
Posted: Sun Aug 28, 2016 11:44 pm
by catboxer
I guess I would describe the sound as a hum. This may be just how it sounds with the volume turned up 75%+ and could be normal. Turning that HUM dial on the amp doesn't seem to affect it one way or another.
Re: 100R rebuild continues
Posted: Mon Aug 29, 2016 2:18 am
by Ron Rich
Well,
I don't understand your term "the dial to set balance-"--Service manual is specific on this process as well as pressure.
You may have ruined the new needles at this point ?
As for "hum"-- Did your amp re-builder connect/consider the AVC circuit ? Did he ground ALL filters, at the transformer ground buss ? Is the hum control also grounded at that point ? Is the "MS" contact on your carriage clean, making good contact, at the correct time ?
On that "paper cap"--Hard to say, but easy to replace--I would, especially if it is a "John Fast" brand, or a Red "pastic" type. !
Ron Rich
Re: 100R rebuild continues
Posted: Tue Aug 30, 2016 2:38 pm
by catboxer
I followed the manual on adjusting the balance. I was referring to the counterweight dial. I recapped the amp and used whatever ground the original caps used. Here's what it sounds like playing a quieter part of a record then ramping back up. During this video the AVC was disabled by removing the associated tube. Does this sound normal? It's more of a rumble or whooshing sound than hum.
http://youtu.be/slSB5wJMHQo
Re: 100R rebuild continues
Posted: Tue Aug 30, 2016 3:48 pm
by Ron Rich
Impossible to tell from this post--but I do not hear anything I did not expect ? What happens to that sound if you lift the tone arm off the record ? Ron Rich
Re: 100R rebuild continues
Posted: Tue Aug 30, 2016 5:11 pm
by Rob-NYC
That sounds like an enormous amount of turntable rumble. Lift the pickup...does it stop?
if so, check that there is no direct mechanical connection between the motor body and the mech casting. It must be isolated via the rubber mounts AND the small rubber plug under the motor. All rubber must be pliable -not rock hard. What is the state of the motor coupling?
Rob
Re: 100R rebuild continues
Posted: Wed Aug 31, 2016 8:54 pm
by catboxer
The sound stays about the same with the tone arm removed. Very very faint hum (rumble?) and a good amount of hiss coming from the center driver.
Video:
https://www.youtube.com/watch?v=wB_G07x9GsYThe rubber coupler is very hard. I don't think I'm able to inspect the mounts without removing the mech from the frame but I would imagine these are both original.
Re: 100R rebuild continues
Posted: Wed Aug 31, 2016 9:31 pm
by Ron Rich
Pull out the input plug and play a record--still the same ? If so it's an amp problem--
Motor comes right out without removing ANYTHING other then the two grub screws on the coupler, and the mech cover brace, along with the 4 screws holding the motor, itself. I strongly advise everyone NEVER to remove the carriage from the base frame, nor the record rack from the base frame. (see my Seeburg Mechanism guide). You will need to change that coupler, and correctly re-install the new one--and maybe the motor support plug, if hard or non-existant --usually the motor mounts are flexible enough if you have a Westinghouse, or Bodine, brand motor installed in that unit. Ron Rich