- image.jpg (45.93 KiB) Viewed 572 times

Seeburg 222 restoration
Q&A about all types of jukeboxes: Wurlitzer, Seeburg, Rock-Ola, AMI, and more.
-
Faza1
Topic author - Regular Member
- Posts: 53
- Joined: Sun Jun 28, 2015 1:11 pm
- Location: Sydney, Australia
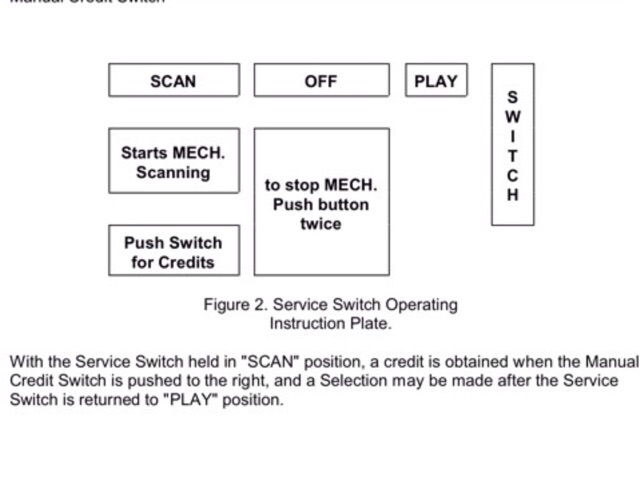
Ron was it similar to this one?
-
Ron Rich
- Forum Moderator
- Posts: 8193
- Joined: Sun May 06, 2007 11:31 pm
- Location: Millbrae (San Francisco area)CA, USA
Yes--"something" like that--don't recall which version said what--
Ron Rich
Ron Rich
-
Faza1
Topic author - Regular Member
- Posts: 53
- Joined: Sun Jun 28, 2015 1:11 pm
- Location: Sydney, Australia
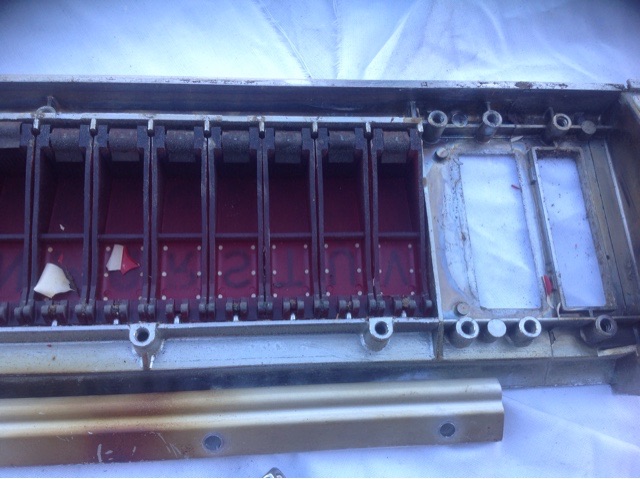
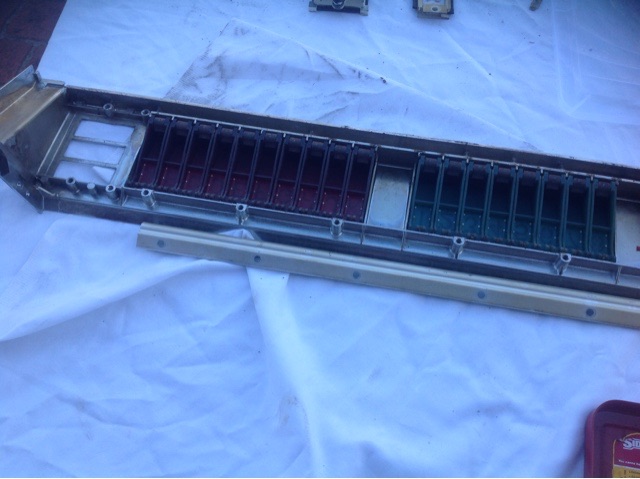
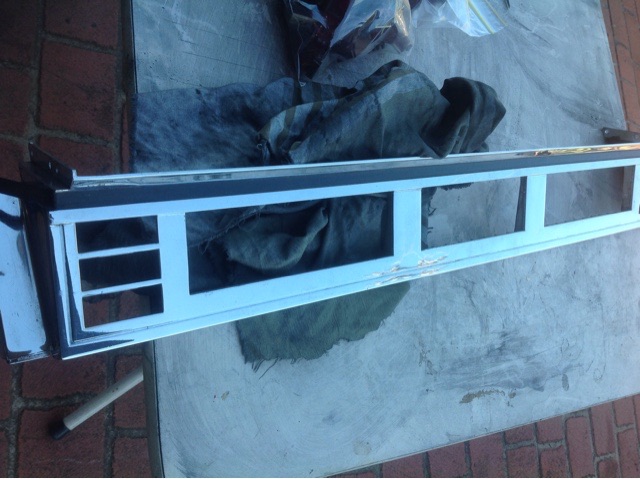
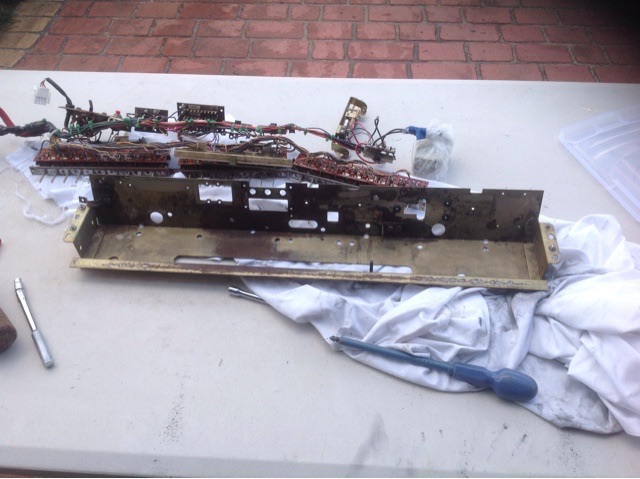
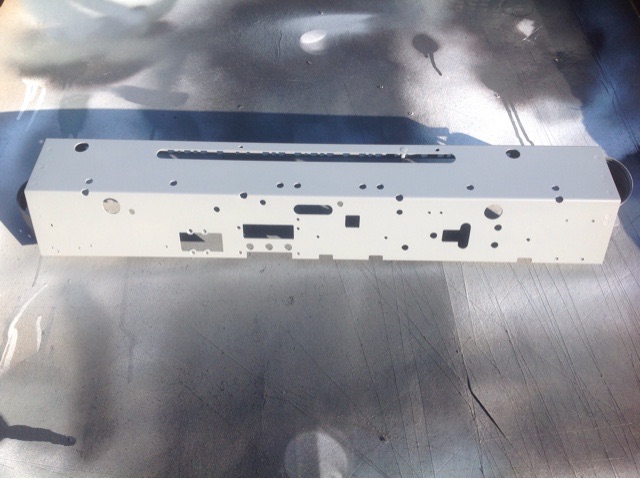
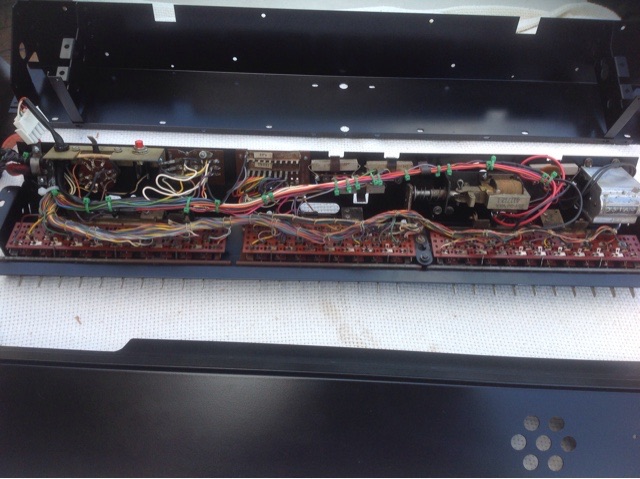
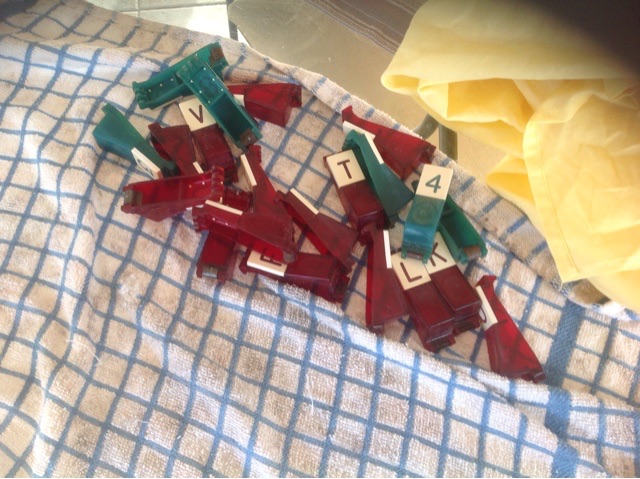
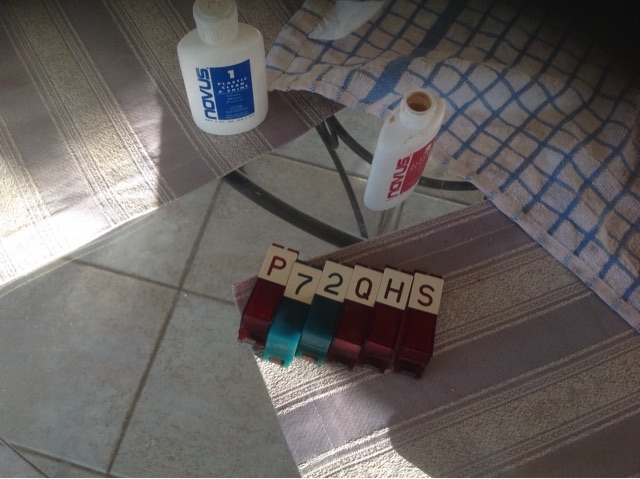
Selector has been dismantled cleaned case re sprayed and reassembled.
Not sure if I want to whiten the keys or not I kinda like the vintage look.
Not sure if I want to whiten the keys or not I kinda like the vintage look.
- Attachments
-
- image.jpg (91.21 KiB) Viewed 556 times
-
- image.jpg (72.07 KiB) Viewed 556 times
-
- image.jpg (71.27 KiB) Viewed 556 times
-
- image.jpg (92.55 KiB) Viewed 556 times
-
- image.jpg (88.17 KiB) Viewed 556 times
-
- image.jpg (86.5 KiB) Viewed 556 times
-
- image.jpg (92.73 KiB) Viewed 556 times
-

- image.jpg (88.31 KiB) Viewed 556 times
-
- image.jpg (124.29 KiB) Viewed 556 times
-
- image.jpg (97.07 KiB) Viewed 556 times
-
Faza1
Topic author - Regular Member
- Posts: 53
- Joined: Sun Jun 28, 2015 1:11 pm
- Location: Sydney, Australia
Guys I need some advice I made a start on swapping the 60hz gear and worm shaft to a 50hz gear I have removed the two tapered pins holding the two gear assemblies but can't slide the shaft far enough to slide the 60hz gear off the shaft.
It looks like I have to remove the turntable to allow the shaft more room, but there doesn't seem to be enough room to remove the turntable without removing the stripper plate assembly?
So to remove the stripper plate assembly do I need to remove the mech from the carriage base assembly?
Or am I missing a easier way to perform this.
Cheers
John
-
Ron Rich
- Forum Moderator
- Posts: 8193
- Joined: Sun May 06, 2007 11:31 pm
- Location: Millbrae (San Francisco area)CA, USA
Hi John,
First, the whole mechanism should be removed from the cabinet, and set on a "bench"---then--
There are two ways to accomplish this---either is a PIA !
1. My preferred method is to remove the stripper plate assembly. No I do NOT remove the record rack to do this, nor do I remove the carriage from the base plate( I try to avoid this at ALL costs !). The only difficult part is the removal/replacement of the one screw holding it onto the "safety plate assembly"--but a small 1/4 in, wrench will reach it, if mech is parked on the left (100 selection on that model) end.
2. I have never done it this way, but I was told by a good friend that he does it this way--
Remove the Turntable (TT) thrust bearing plate, Remove the TT, bearings, then push the shaft out, thru the side of the casting--sounds simpler, but, TT removal sometimes can be difficult !
Have fun !! Ron Rich
-
Faza1
Topic author - Regular Member
- Posts: 53
- Joined: Sun Jun 28, 2015 1:11 pm
- Location: Sydney, Australia
Ron thanks for the advice I was already heading down your preferred path so will continue that way.
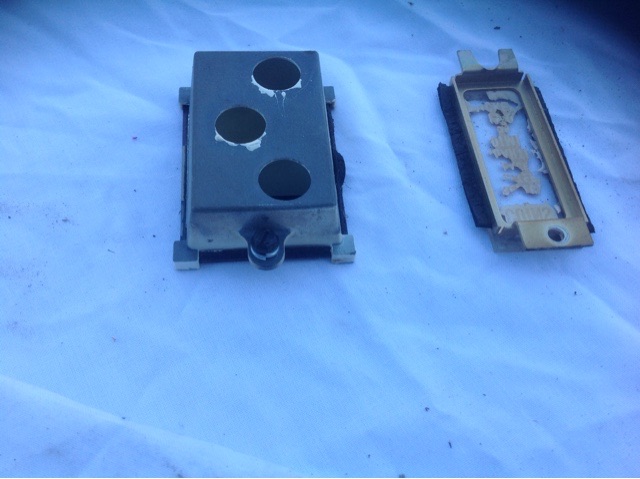
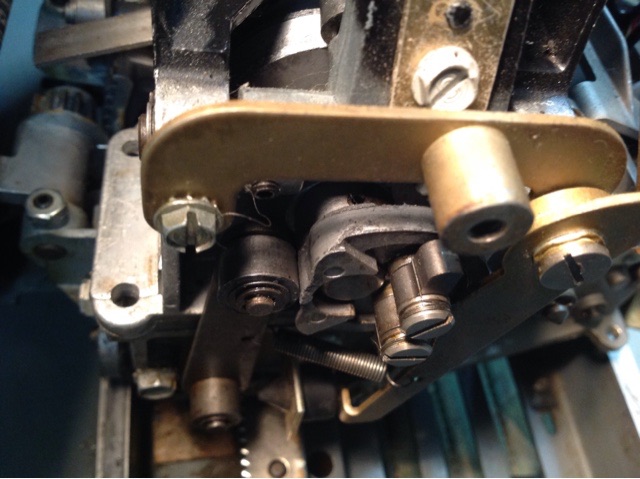
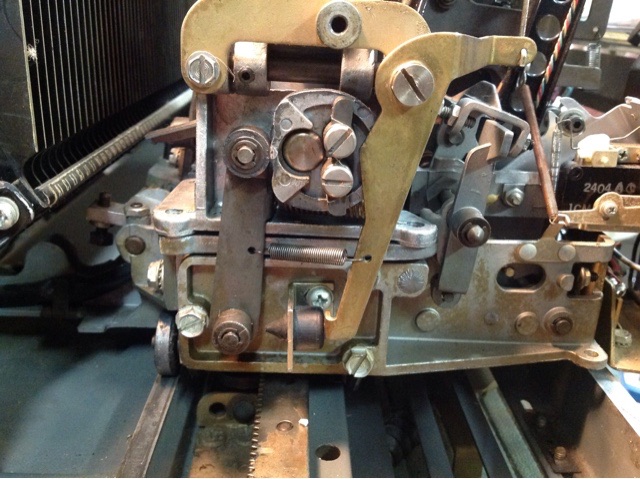
I have removed the hard to reach screw, looks as if the brake cam is now stopping the stripper plate from being removed.
Can you confirm that the roll pin located behind the brake cam needs to be removed. ( it's hard to see in the photos)
Thx for the advice.
I have removed the hard to reach screw, looks as if the brake cam is now stopping the stripper plate from being removed.
Can you confirm that the roll pin located behind the brake cam needs to be removed. ( it's hard to see in the photos)
Thx for the advice.
- Attachments
-
- image.jpg (83.07 KiB) Viewed 403 times
-
- image.jpg (77.76 KiB) Viewed 403 times
-
- image.jpg (114.4 KiB) Viewed 403 times
-
Ron Rich
- Forum Moderator
- Posts: 8193
- Joined: Sun May 06, 2007 11:31 pm
- Location: Millbrae (San Francisco area)CA, USA
Yes-sir ! That pin must be removed--take note of how the cam is installed as it is sometimes possible to re-install it incorrectly (do NOT axk !). Cam must turn slightly for pin removal. Turn cam only after having punched the pin almost all the way thru (it will bind at that point, if cam is not turned). Also remove the needle wiper arm and mech cover support-- Ron Rich
-
Faza1
Topic author - Regular Member
- Posts: 53
- Joined: Sun Jun 28, 2015 1:11 pm
- Location: Sydney, Australia
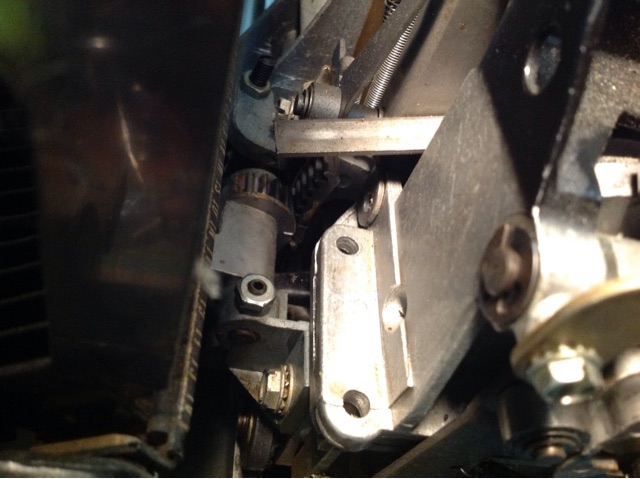
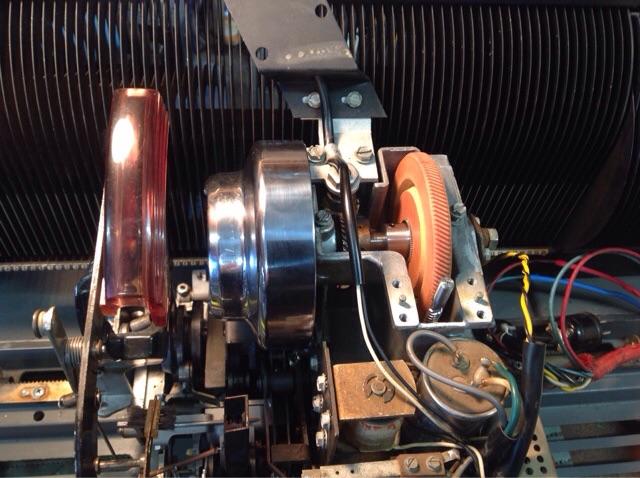
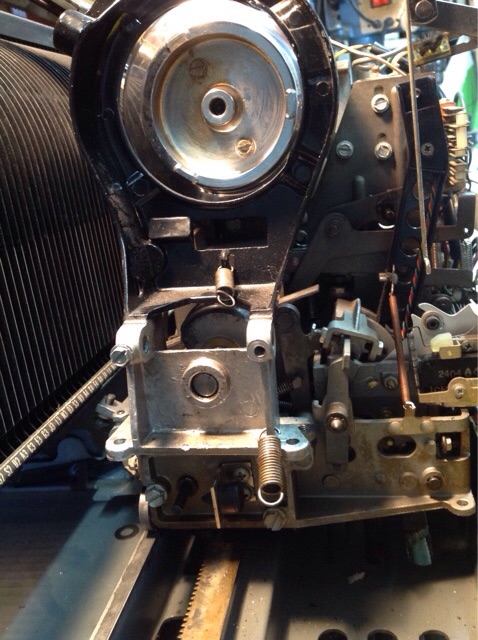
Ron thanks once again new gear is in and mech is back together, I will add a few pictures for anyone else that needs to change the gears.
I searched the Internet and found nothing so hopefully this will help others.
I searched the Internet and found nothing so hopefully this will help others.
- Attachments
-
- image.jpg (113.05 KiB) Viewed 385 times
-
- image.jpg (115.35 KiB) Viewed 385 times
-
- image.jpg (114.9 KiB) Viewed 385 times
-
Ron Rich
- Forum Moderator
- Posts: 8193
- Joined: Sun May 06, 2007 11:31 pm
- Location: Millbrae (San Francisco area)CA, USA
Hi John,
Looks just like a 50 Hz. gear to me !
Word of advise:
Get a small amount of graphite grease on the fiber gear and be SURE to saturate the worm top felt, with 20 wt. ND oil, BEFORE running it ! Ron Rich
Looks just like a 50 Hz. gear to me !
Word of advise:
Get a small amount of graphite grease on the fiber gear and be SURE to saturate the worm top felt, with 20 wt. ND oil, BEFORE running it ! Ron Rich
-
Faza1
Topic author - Regular Member
- Posts: 53
- Joined: Sun Jun 28, 2015 1:11 pm
- Location: Sydney, Australia
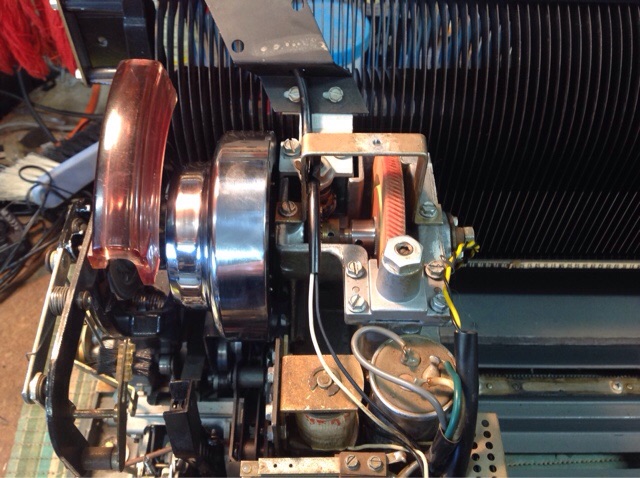
Ron thx for the advice I will get some graphite grease, I don't recall there being a felt pad on the worm gear housing?
Is this a part that perishes and requires replacement?
Is this a part that perishes and requires replacement?
John, it is a small wick that passes through the Allen screw in the bolt at the top of the bearing...but do the machine a favor and remove the bearing and -liberally- oil the shaft and inner bearing surfaces. If there is any glaze on the bearing it will prevent the new oil from penetrating and lead to scoring or chattering and flutter. I also coat the fiber gear w/oil and place oil directly on the top motor shaft.
If this is a first power-up or the motor has been washed I snake a small oil hose inside the bottom motor bell and directly lube the bottom bearing as well.
Rob
If this is a first power-up or the motor has been washed I snake a small oil hose inside the bottom motor bell and directly lube the bottom bearing as well.
Rob
"If we believe absurdities, we shall commit atrocities" -- Voltaire
-
Ron Rich
- Forum Moderator
- Posts: 8193
- Joined: Sun May 06, 2007 11:31 pm
- Location: Millbrae (San Francisco area)CA, USA
John,
The oil wick appears to be in your photo--see service manual and/or. parts book. If the motor is a "Bodine" KCI 42. and has an adjustable end thrust bearing, be sure that it was adjusted for 2-3 /1000ths clearance. Also, be sure the motor coupling is attached in such a manor as to take-up all slack, but not tight enough, to prevent turning freely. Check turntable thrust bearing itself and replace/ adjust (.187 steel ball), as per service manual. Ron Rich
The oil wick appears to be in your photo--see service manual and/or. parts book. If the motor is a "Bodine" KCI 42. and has an adjustable end thrust bearing, be sure that it was adjusted for 2-3 /1000ths clearance. Also, be sure the motor coupling is attached in such a manor as to take-up all slack, but not tight enough, to prevent turning freely. Check turntable thrust bearing itself and replace/ adjust (.187 steel ball), as per service manual. Ron Rich
-
Faza1
Topic author - Regular Member
- Posts: 53
- Joined: Sun Jun 28, 2015 1:11 pm
- Location: Sydney, Australia
Ron/Rob
Thanks for the advice, I had a look today and the oil wick is there just need to find some suitable oil here in Oz.
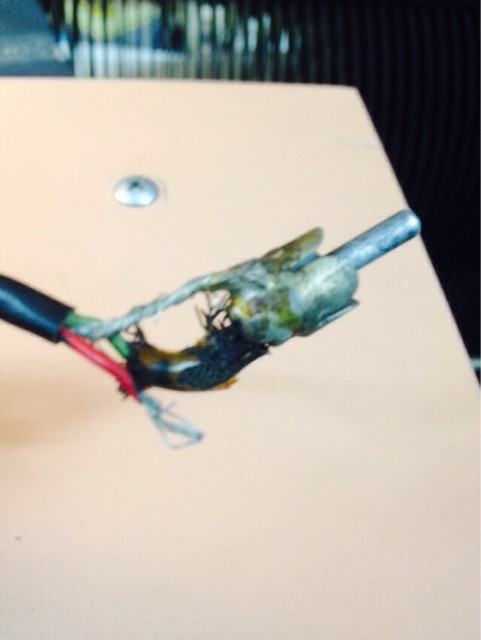
I need to replace the cable plug
from the tormat to the pulse amplifier I am assuming that the red wire broken off in the photo was originally connected to the outer ring on the plug along with the shield?
Cheers
John
Thanks for the advice, I had a look today and the oil wick is there just need to find some suitable oil here in Oz.
I need to replace the cable plug
- image.jpg (50.17 KiB) Viewed 314 times
Cheers
John
-
Ron Rich
- Forum Moderator
- Posts: 8193
- Joined: Sun May 06, 2007 11:31 pm
- Location: Millbrae (San Francisco area)CA, USA
Hi John,
Your "assumption" is correct--the shield AND one colored wire ( this varies depending of the brand of wire, or the persons whim, that originally wired it). must be soldered to the plug. There is no need to replace that plug--just "clean it up"--and be sure to clean the ground surface of it mating jack ("Crocus cloth" advised here) ! Ron Rich
Your "assumption" is correct--the shield AND one colored wire ( this varies depending of the brand of wire, or the persons whim, that originally wired it). must be soldered to the plug. There is no need to replace that plug--just "clean it up"--and be sure to clean the ground surface of it mating jack ("Crocus cloth" advised here) ! Ron Rich
-
Faza1
Topic author - Regular Member
- Posts: 53
- Joined: Sun Jun 28, 2015 1:11 pm
- Location: Sydney, Australia
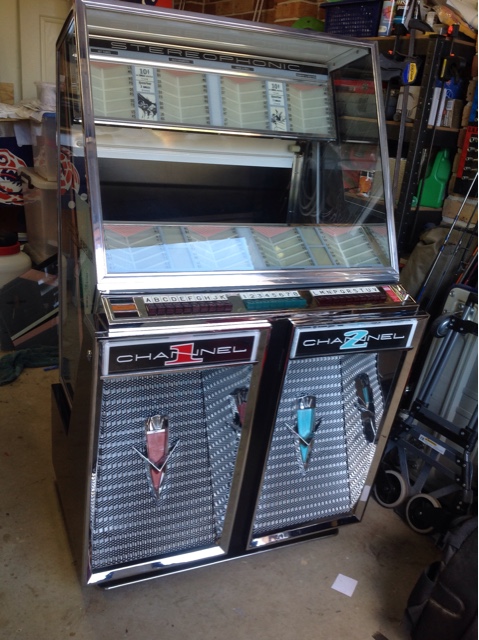
Cabinet is nearing completion TSU and AMP are completed and working and I am now turning my attentions to the mechanism.
In previous posts I wrote that the speaker hum test does not work even though I have one leg of the heater 6 volt ac supply at the speaker terminal.
I would have thought I would get a voltage reading on my meter across the speaker terminals as one leg is connected to earth.
I had to replace the power transformer in the TSU and I noticed that the new transformer tappings are different to the original in that there is no centre tap, could this be the reason the speaker hum test does not work. (pictures attached)
Is it recommended to replace the selenium rectifier (smoothing rectifier) in the mechanism trip cct with a diode if so can anyone recommend a type?
I have the mech on the workbench at the moment not in the cabinet and suspect that the clutch requires cleaning lubricating etc.
if I turn the motor coupling by hand and manually trip the mechanism the record is transferred to the turntable, if I continue to turn the motor coupling the record is rejected and returned to the rack without playing the record and the mech once again starts to scan.
Can these tests be performed without being powered by the TSU?
Cheers
John
- Attachments
-
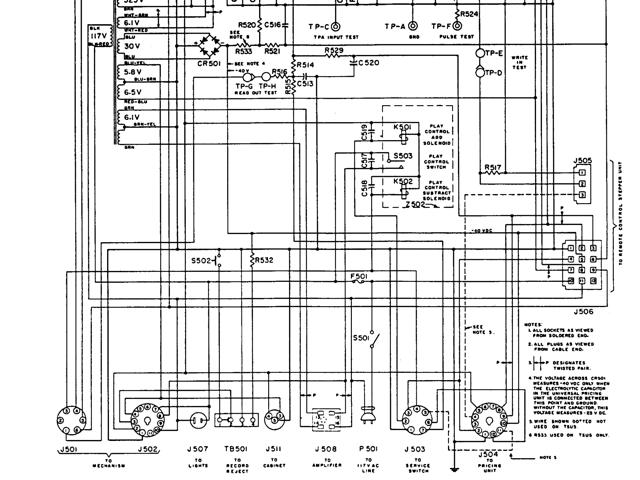
- old transformer TSU.PNG (129.25 KiB) Viewed 86 times
-
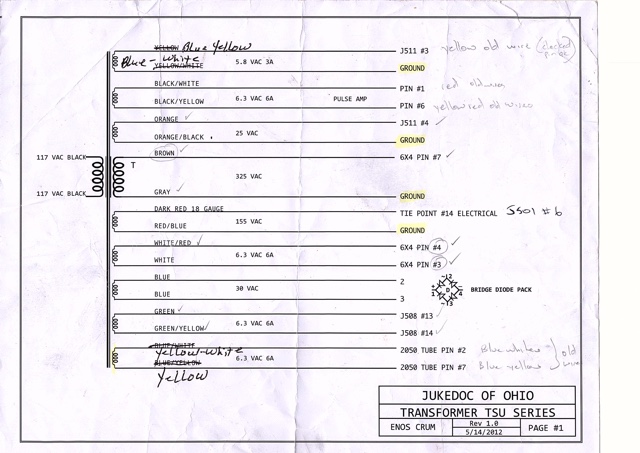
- new transformer TSU.jpg (98.46 KiB) Viewed 86 times
-
- IMG_2557.JPG (137.34 KiB) Viewed 86 times
Who is online
Users browsing this forum: ds100h and 10 guests
It is currently Thu Oct 06, 2016 6:42 am